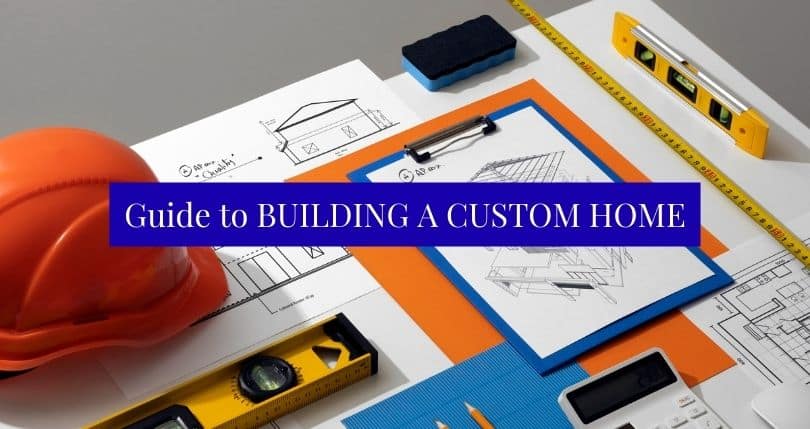
Your Step – by – Step Guide to Building a Custom Home
In 2025, the housing market is evolving as buyers adapt to economic conditions and changing lifestyle preferences. Understanding these shifts is crucial for prospective homeowners and industry professionals alike.
From Dream to Doorstep—Everything You Need to Know
Building a custom home is one of the most rewarding experiences you can have as a homeowner. Instead of adapting to someone else’s floorplan or design, a custom home lets you shape everything around your lifestyle, tastes, and priorities. Here’s a step by- step guide to help you navigate the journey with confidence.
1. Define Your Vision
Start by determining what you want. How many bedrooms? One story or two? Open concept or more traditional layout? Make a list of must-haves and nice-to-haves. Consider your lifestyle, future plans, and how you want to use the space—both indoors and out.
2. Establish a Budget
Your budget will shape every decision, so it’s essential to be realistic from the beginning. Don’t just factor in the price of construction—include land, permits, utility connections, landscaping, design fees, and a buffer for unexpected expenses (typically 10–15%). Remember to include move in expenses.
3. Secure Financing
Before breaking ground, meet with a lender to get pre-qualified for a construction loan. Unlike traditional mortgages, construction loans release funds in stages—called “draws”— as the home is built. This ensures your builder gets paid throughout construction without you paying interest on the full amount upfront.
You’ll typically have two options:
- One-Time Close Construction Loans: These combine your construction financing and permanent mortgage into a single loan. You only close once, which means fewer fees and less paperwork. After construction is complete, the loan automatically converts into your permanent mortgage.
- Two-Time Close (or Standalone) Loans: These involve separate loans—one for construction and another for permanent financing. While this allows more flexibility (such as using different lenders), you’ll need to go through two closings and pay fees for each.
Whichever option you choose, make sure your lender is experienced with custom home financing and can guide you through the process.
4. Find the Right Lot
The land you build on affects everything from your floorplan to your utilities. Consider the location, size, slope, soil conditions, and orientation for sunlight and wind. A lot should complement your home— not limit it.
5. Assemble Your Team
You’ll need a builder, an architect or home designer, and possibly a landscape designer. Choose experienced professionals who understand your vision and communicate clearly. Ask for references and tour homes they’ve completed.

6. Design the Floorplan
Work with your builder or architect to translate your vision into a workable plan. Consider room flow, natural light, energy efficiency, and how the layout supports your daily routines. A good floorplan makes smart use of space and enhances your lifestyle.
7. Enroll in a High-Performance Home Program
Before construction begins, talk to your builder about enrolling your home in a high-performance home program like BUILT TO SAVE® or the AEP Texas High-Performance Home Program. The best time to enroll is before the home is built. A licensed home energy Rater will input the home’s specs—such as insulation levels, HVAC sizing, and window types—into specialized software to calculate a projected HERS (Home Energy Rating System) score. This score is a reliable predictor of the home’s energy performance and can help guide construction decisions to make your home more efficient and comfortable. Homes that earn certification often qualify for energy rebates and can deliver long-term savings on utility bills.
Choose a BUILT TO SAVE® certified Builder
For a list of certified BUILT TO SAVE® builders, you can visit www.BuiltToSave.org
8. Choose Materials and Finishes
From flooring and cabinetry to fixtures and roofing, your material selections bring your home to life. Try to make the most of these decisions before construction begins to avoid delays. Work closely with your builder or interior designer to stay within budget.
9. Obtain Permits and Approvals
Your builder will usually handle this, but be aware that permits can take time depending on your city or county. This step ensures your plans meet building codes and zoning requirements.
10. Start Construction
Once permits are in place, construction begins. The major phases include:
- Site preparation and foundation
- Framing
- Plumbing, electrical, and HVAC
- Insulation and drywall
- Interior and exterior finishes
- Stay in regular communication with your builder and expect to do walkthroughs at key stages.
11. Schedule Inspections
Throughout the construction process, inspections are required to ensure the home meets all applicable building codes. It is the builder’s responsibility to schedule these inspections in a timely manner to keep the project moving forward. If the home is enrolled in a high performance home program, two additional inspections are typically required:
- Thermal Bypass Inspection: Conducted after insulation is installed but before drywall is added. This inspection ensures proper air sealing and thermal integrity throughout the home.
- Final Inspection: Includes a blower door test (to measure how airtight the home is) and a duct blaster test (to detect leaks in the HVAC ductwork).
Some lenders may also require periodic inspections before releasing the next phase of construction funds. These make sure that work is progressing as planned and that funds are being distributed according to completed milestones.
12. Final Walkthrough and Punch List
Before moving in, you’ll do a final walkthrough with your builder to create a “punch list” of items that need to be corrected or completed. This is your chance to make certain everything meets your expectations
13. Move In and Enjoy!
Once the punch list is complete and you receive a certificate of occupancy, it’s time to move into your custom dream home. Congratulations—you’ve created a space that’s uniquely yours.
New Homes Guide Magazine
The latest new home trends, up-and-coming neighborhoods, and more.
© RGV New Homes Guide, 2025. Unauthorized use and/or duplication of this material without express and written permission from this site’s author and/or owner is strictly prohibited. Excerpts and links may be used, provided that full and clear credit is given to RGV New Homes Guide with appropriate and specific direction to the original content.